IT automation via configuration templates (Configlets)
IT automation using configuration templates or configlets streamlines the deployment and management of IT resources, enhances operational efficiency, and enables IT teams to focus on higher-value tasks rather than routine configuration activities.
Benefits of using configlets for IT automation
- Reduces manual errors
- Saves time on repetitive tasks
- Ensures consistency across environments
- Facilitates scalability in IT infrastructure
Use case
By establishing standardized, predefined templates that adhere to industry best practices and security policies, companies can ensure that their network devices are configured securely and in accordance with regulations. Administrators can effortlessly implement security protocols, access controls, encryption standards, and other security measures across all network devices. This aids in upholding a uniform security stance across the network infrastructure, minimizing the likelihood of vulnerabilities and potential security incidents stemming from incorrect configurations.
Creating an IT automation template using configlets
- Log in to Site24x7.
- Navigate to Admin > IT Automation Templates.
- Click the Add Automation button or Add Automation Templates button on the top-right corner of the page.
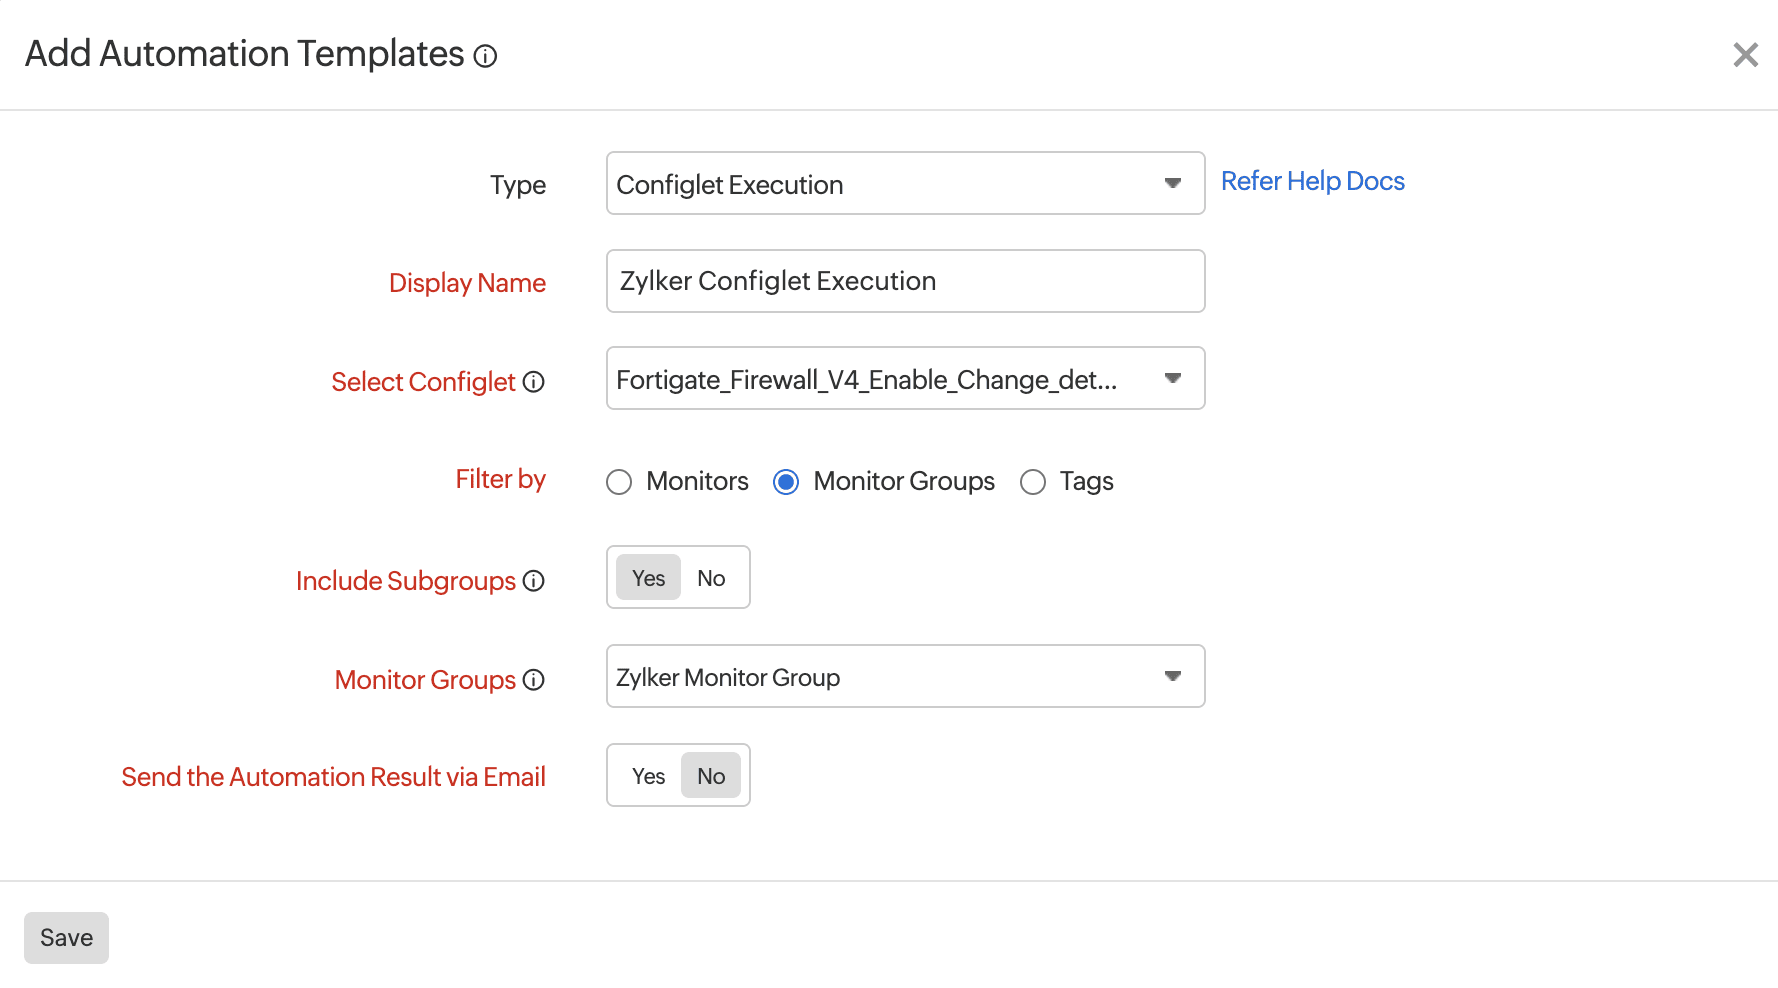
- In the Add Automation Templates pop-up, enter the following:
- Type: Select Configlet Execution in the Network Actions section in the drop-down menu.
- Display Name: Provide a display name to identify the IT automation template.
- Select Configlet: Select the configlet that needs to be executed.
- Filter by: Toggle between Monitors, Monitor Groups, or Tags.
- Select Hosts for Configlet Execution/Monitor Groups/Tags: One of the options will be displayed based on the selection in step 4d. Select the monitors, groups, or tags to perform the action on the associated devices.
- Select Hosts for Configlet Execution: This option is available only if you have selected Monitors. Select the monitors for which the action should be executed. If you have selected $LOCALHOST, the monitor where the IT automation is mapped will also be included for executing the configlet.
- Include Subgroups: This option is available only if you have selected Monitor Groups. Enable this option to include subgroups of the selected monitor groups.
- Send the Automation Result via Email: Toggle between Yes and No, as required.

- Click Save.
Editing the IT automation template
- Navigate to Admin > IT Automation Templates.
- Click on the required row to edit the IT automation template.
Simulating the IT automation
- Navigate to Admin > IT Automation Templates.
- Click the play
 icon in the Test column for the required IT automation templates.
NoteIf you have chosen only $LOCALHOST during the creation of an IT automation template, it cannot be simulated. Nevertheless, it can be linked to a monitor so that it runs when the relevant event takes place.
Scheduling IT automation
- Navigate to Admin > IT Automation Templates.
- Click Schedule IT Automation on the required row to schedule an IT automation.
Mapping the IT automation to monitors
You can map the automation to a predefined monitor level event type (Up, Down, Critical, Trouble, attribute status change, or any status change) for each monitor. You can map automation to a monitor while doing the following:
- Adding a monitor: Select an IT automation template while adding an NCM device as a monitor.
- Editing the monitor details: Edit a monitor by clicking the hamburger
 icon under Actions, then select Edit. In the respective Edit monitor screen, select the IT Automation Templates in the Configuration Profiles section, then click Save.
NoteIf you have mapped IT automation to a network or NetFlow monitor, the configlet will be executed only if there is a corresponding NCM monitor for the same hostname or IP address.
